

Achieve an even, longer-lasting glow with our step-by-step self-tanning guide. Here’s how to prepare your skin, apply the product, and care for your tan for flawless results.
Preparation is Key – Shave & Exfoliate
Proper preparation is key to ensuring a smooth and streak-free tan. Start by exfoliating your skin thoroughly, focusing on areas like elbows, knees, and ankles where dryness tends to accumulate. Use an exfoliating mitt or a body scrub, working in gentle circular motions to remove dead skin cells and prevent dark, uneven patches. Think of it like ‘preparing the canvas’… that so happens to be your skin!
It’s also important to shave or wax any areas you plan to tan well-before application. Shaving or waxing after applying self-tanner can cause the color to fade. Hair removal should be performed 24 hours before tan application to avoid irritation and an un-even application.
Avoid applying moisturiser to your skin right before tanning, as it can block absorption.
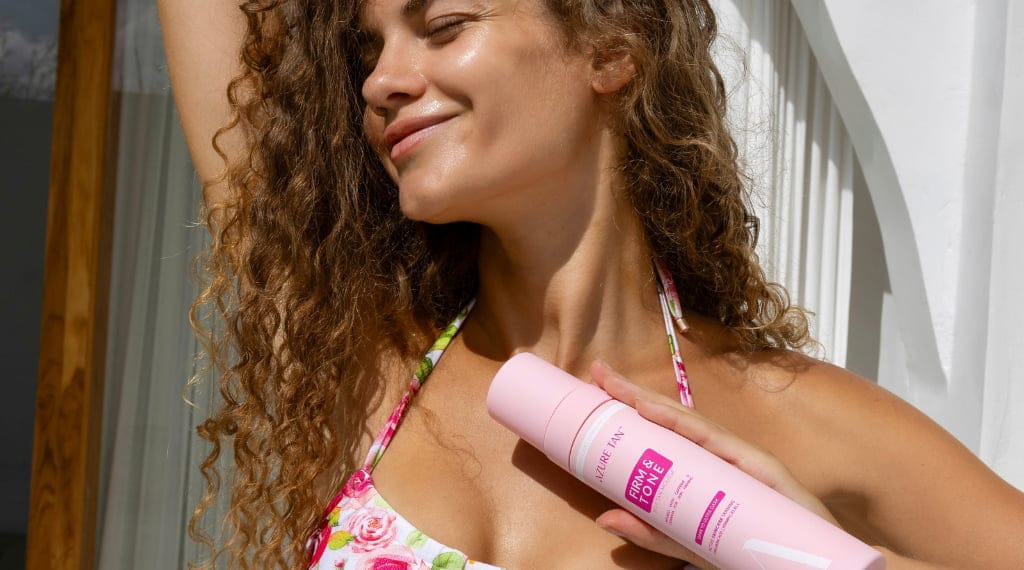
How to Apply Self-Tanner
These instructions work for both mousses or lotions. Generally mousses are “airier” and dry slower, great for darker tans. Lotions or self-tanners dry faster and often produce a lighter more gradual tan. Whichever you’re using – even application is key!
Use a tanning applicator to protect your hands and ensure even application. If you’re really stuck, use an old sock or disposable gloves. (Yes, we really don’t want tan on our hands!) Dispense a small amount of self-tanner onto the mitt, and begin applying it to your skin, starting from your feet and working your way up. This method helps avoid creasing in areas like your torso if you bend over after application.
Massage the tan into your skin using circular motions. Be sure to cover all areas evenly, including hard-to-reach spots. (A helpful partner/friend can come in handy here!) For delicate areas like wrists, feet, and neck, use less product and apply with a lighter touch to avoid streaks. Once you’ve finished, apply a small amount of tanner to the tops of your hands, blending carefully to prevent buildup between fingers or around nails.
For tricky spots like hands, a makeup brush (such as our tanbuki) can help blend the product seamlessly. If you notice any excess tanner, gently blot the area with a tissue or brush.
Once You’ve Applied
Patience is key! Let the product dry completely – this typically takes about 15 minutes – before dressing or sitting on furniture. Some self-tan mousses may have a development time (typically 1-3 hours) where you need to shower with water only a few hours after application. This is to remove excess bronzer and finish the development process. Other mousses and lotions don’t require this (especially gradual tanners), so do check the instructions for the product you are using.
Stay away from water, sweat, and moisturisers for a few hours after application (or until you’ve showered – if applicable). This includes avoiding showers, swimming, and even doing dishes.
Can You Sit Down After Tanning?
It’s best to avoid sitting down or wearing tight clothes immediately after applying self-tanner. Treat your freshly applied tan like a work of art—give it time to dry and set for at least one to two hours before lounging. This helps prevent streaking or patchiness, leaving you with a flawless, even glow.
What about the face?
The face requires a slightly different approach. First, exfoliate as usual. Instead of using a mitt, apply a small amount of self-tanner with your hands, carefully blending it across your face, including around your nose, lips, hairline, and ears. Wash your hands immediately afterward to avoid staining.
For an easier option, use tanning drops specifically designed for the face.
1,2.3.. Glow!
Bronzing it up at home has never been easier.